Notes on AI image testing: small tweaks that change everything
Small adjustments can make a huge difference in AI image generation. Here’s how lighting, texture, and color tuning affect realism and consistency.
Not all image tests are equal. A model can produce impressive one-offs, but consistency shows up only when you try a few difficult cases. Below are quick prompts and checks I keep reusing whenever I compare tools side by side.
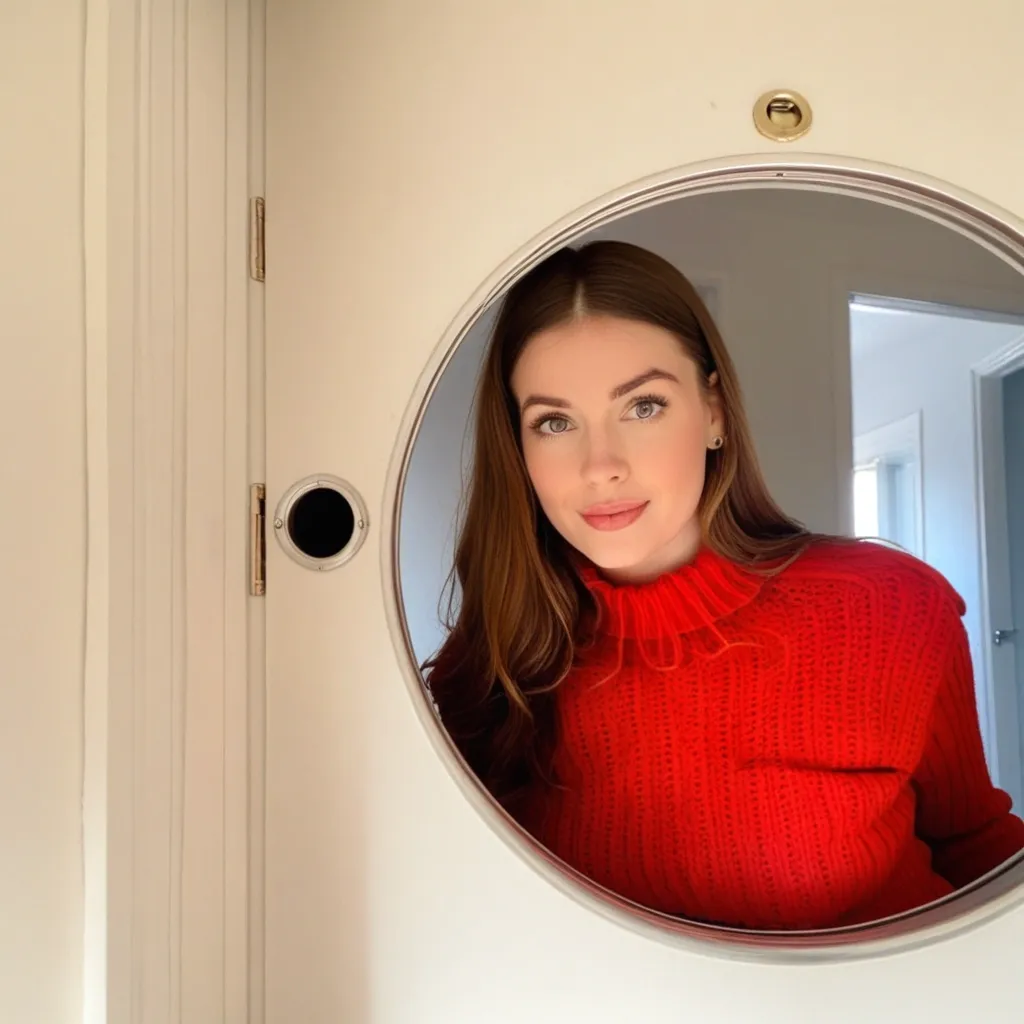
First, test skin and fabric under mixed lighting. Imperfect light (warm practical + cooler fill) tends to reveal how a model handles texture, color roll-off, and tiny highlights. If the result keeps a natural range without plastic sheen, that’s a good sign.
Second, look at hands and edges with overlapping objects. Hard edges, jewelry, hair strands crossing the frame — these raise the difficulty in a useful way. You’re looking for clean geometry and believable transitions.
Third, evaluate color behavior. Slightly desaturating the scene or shifting the white balance can show whether the model compresses the palette too aggressively. Natural variance beats perfect uniformity nine times out of ten.
If you want a compact starting point with current tools, pros/cons, and sample prompts, I maintain this overview:
👉 AI image generators: practical overview — https://bestnsfwaigenerators.com/nsfw-ai-image-generator/
It’s meant to save time: short notes, stable links, and quick recipes you can adapt to your style. I also add new cases when models get better — especially around lighting and fine-detail handling, where improvements tend to be the most noticeable.
If you use a different checklist, I’m curious what you include. My current bias is to stress-test texture and color before anything else. It’s not a perfect metric, but it maps pretty well to how “real” an image feels in the end.
Tags: ai-tools, guides, notes